
Postach.io has a lot limitations. You can fix almost all of them. Today I'm going to explain hot to create Archive page just like this one.
Collect all your current posts
If you have only 5-10 posts or just created your blog skip this article here. It's easier to do next step manually for you.
URL and Name
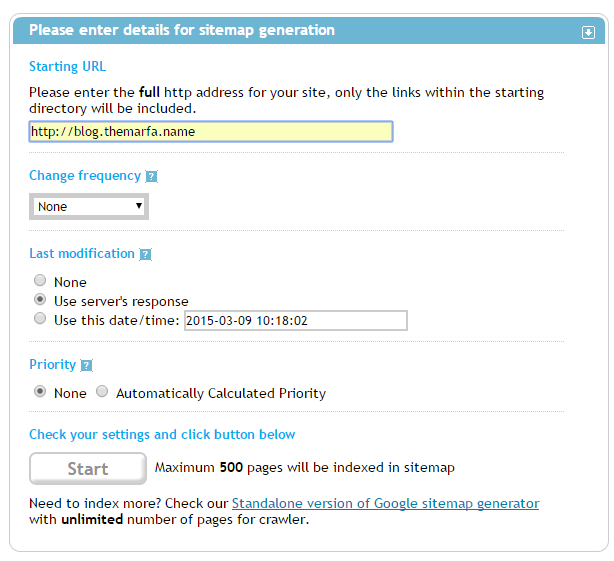
First, you need to get all your current links and post names. You can do it really fast with XML-Sitemap.com service.
Just specify address of your blog on main page and click Start:
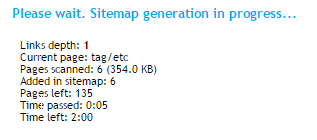
Then service begins to create sitemaps of your website:
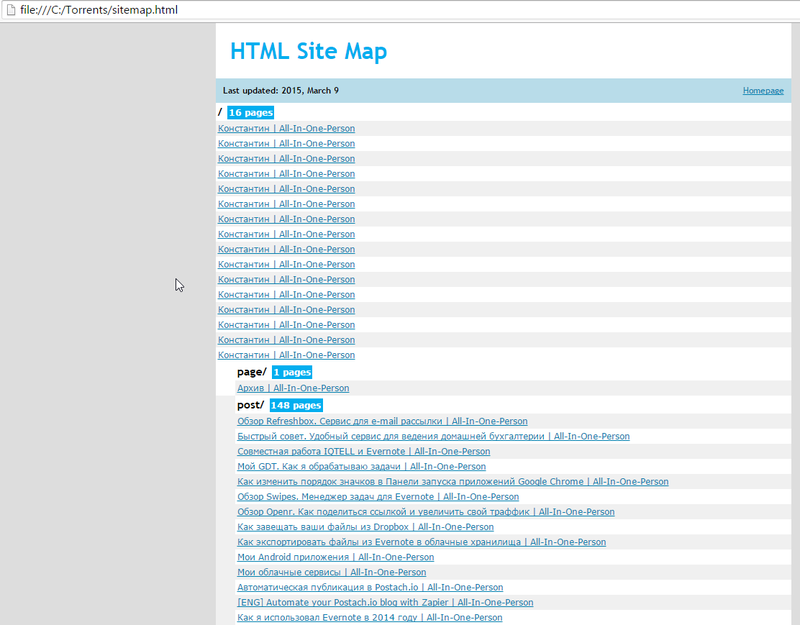
After this you will see 5 sitemaps:
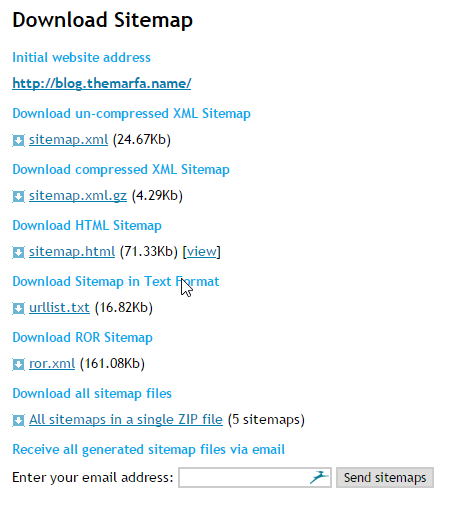
You need to download sitemap.html and urllist.txt.
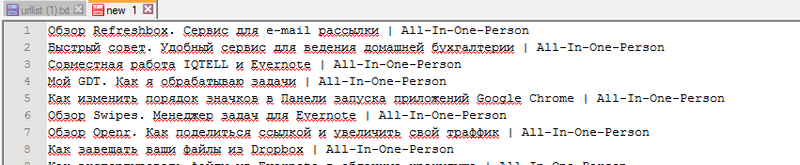
Open urllist.txt with any text editor. I prefer Notepad++ but you can use any editor. You should see something like this:
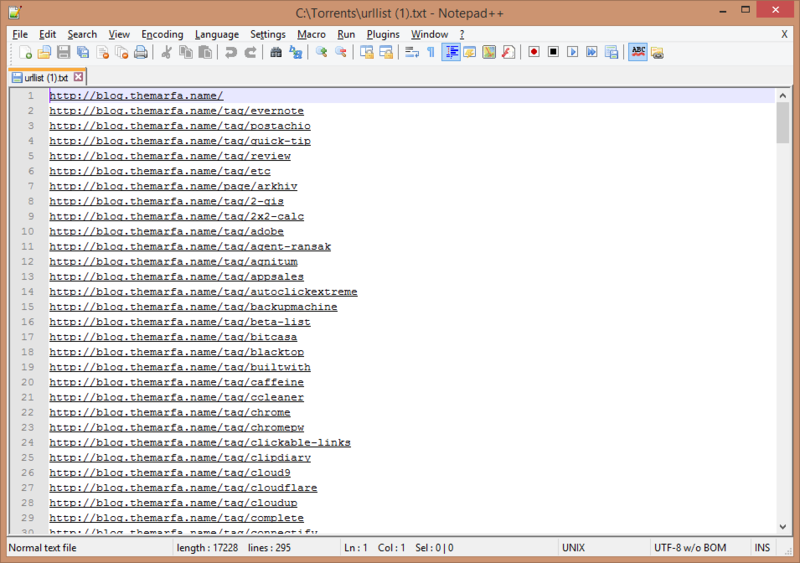
Just leave all lines with "post" in URL. Don't change order of lines.

Now open sitemap.html file and copy all text in Post section:
And paste this text to another text document:
On this step you should have two text documents. One with links, and another with headers. You shouldn't change order of lines.
After this you need to use any spreadsheet editor. I prefer Google Docs. You should create table like this one:
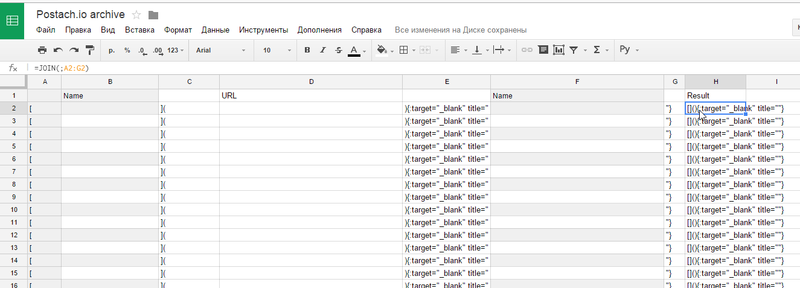
You can create it by yourself or use my template. In the E column phrase :target="_blank" is optional. It allows to open links in new tab. in the Result column I have function that joins all cells into one.
You should paste in the Name column all lines that you get from sitemap.html file. In the URL paste line from urllist.txt file. After this you should get next table:

In the Result column you have all links with headers for your archive page. Just paste it to Evernote.
[Create Archive page]( "Create Archive page")
To create Archive page create Note in Evernote notebook and add this tags: published, markdown, page.
Published - shows that you Note is published.
Markdown - shows that you use Markdown.
Page - shows that this Note is a page, not post.
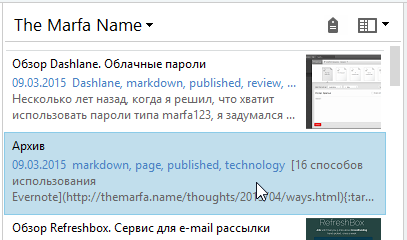
You should add all links to your current posts to this note. After this step you should get a page like this one:

Auto-update of Archive
To update your archive with your latest post you can use your hands or Zapier service.
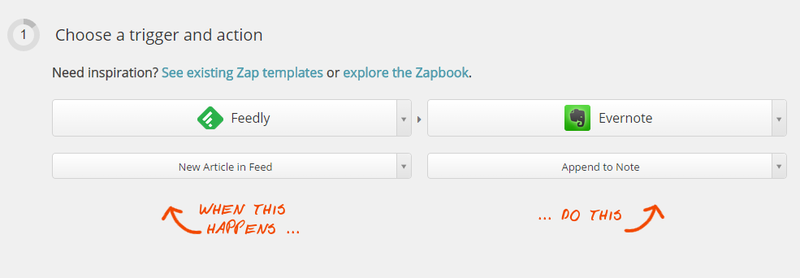
Step 1
I choose Feedly as a trigger, but you can use pure RSS feed. And choose Evernote as action and Append to Note as sub-action:
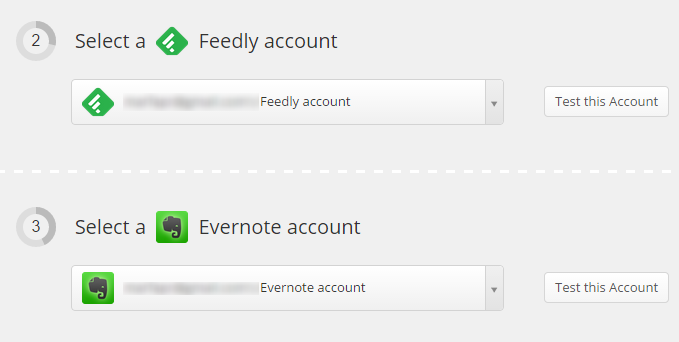
Steps 2 and 3
Just connect your accounts:
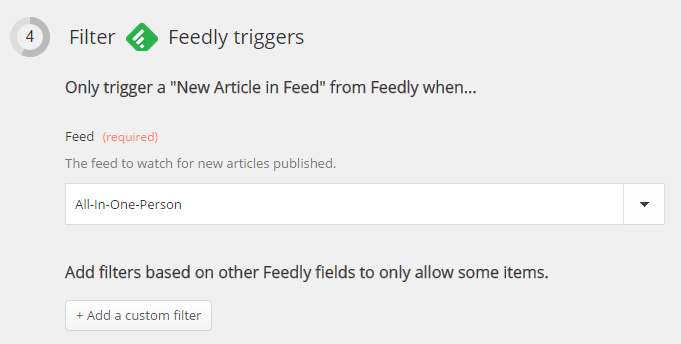
Step 4
You should specify your blog's feed in Feedly:
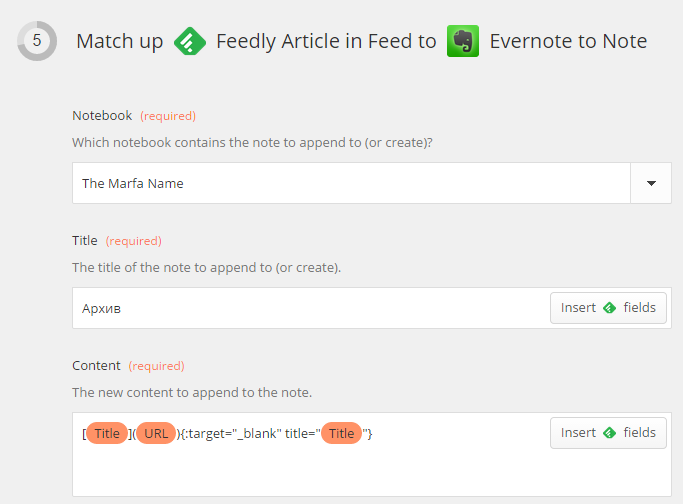
Step 5
On this step you should specify your blog's Notebook and name of Archive note. On the bottom specify what to append to the Note:
Steps 6 and 7
Just turn this Zap on:
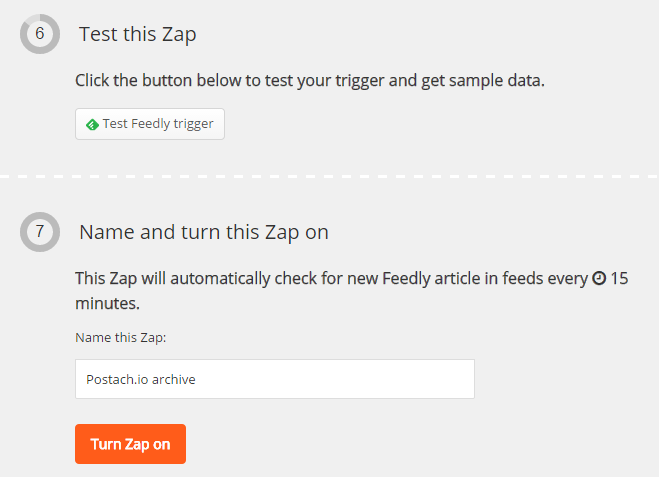
After this steps you will have Archive page with auto-renewal.